DIY Tips for Basic Backflow Valve Maintenance
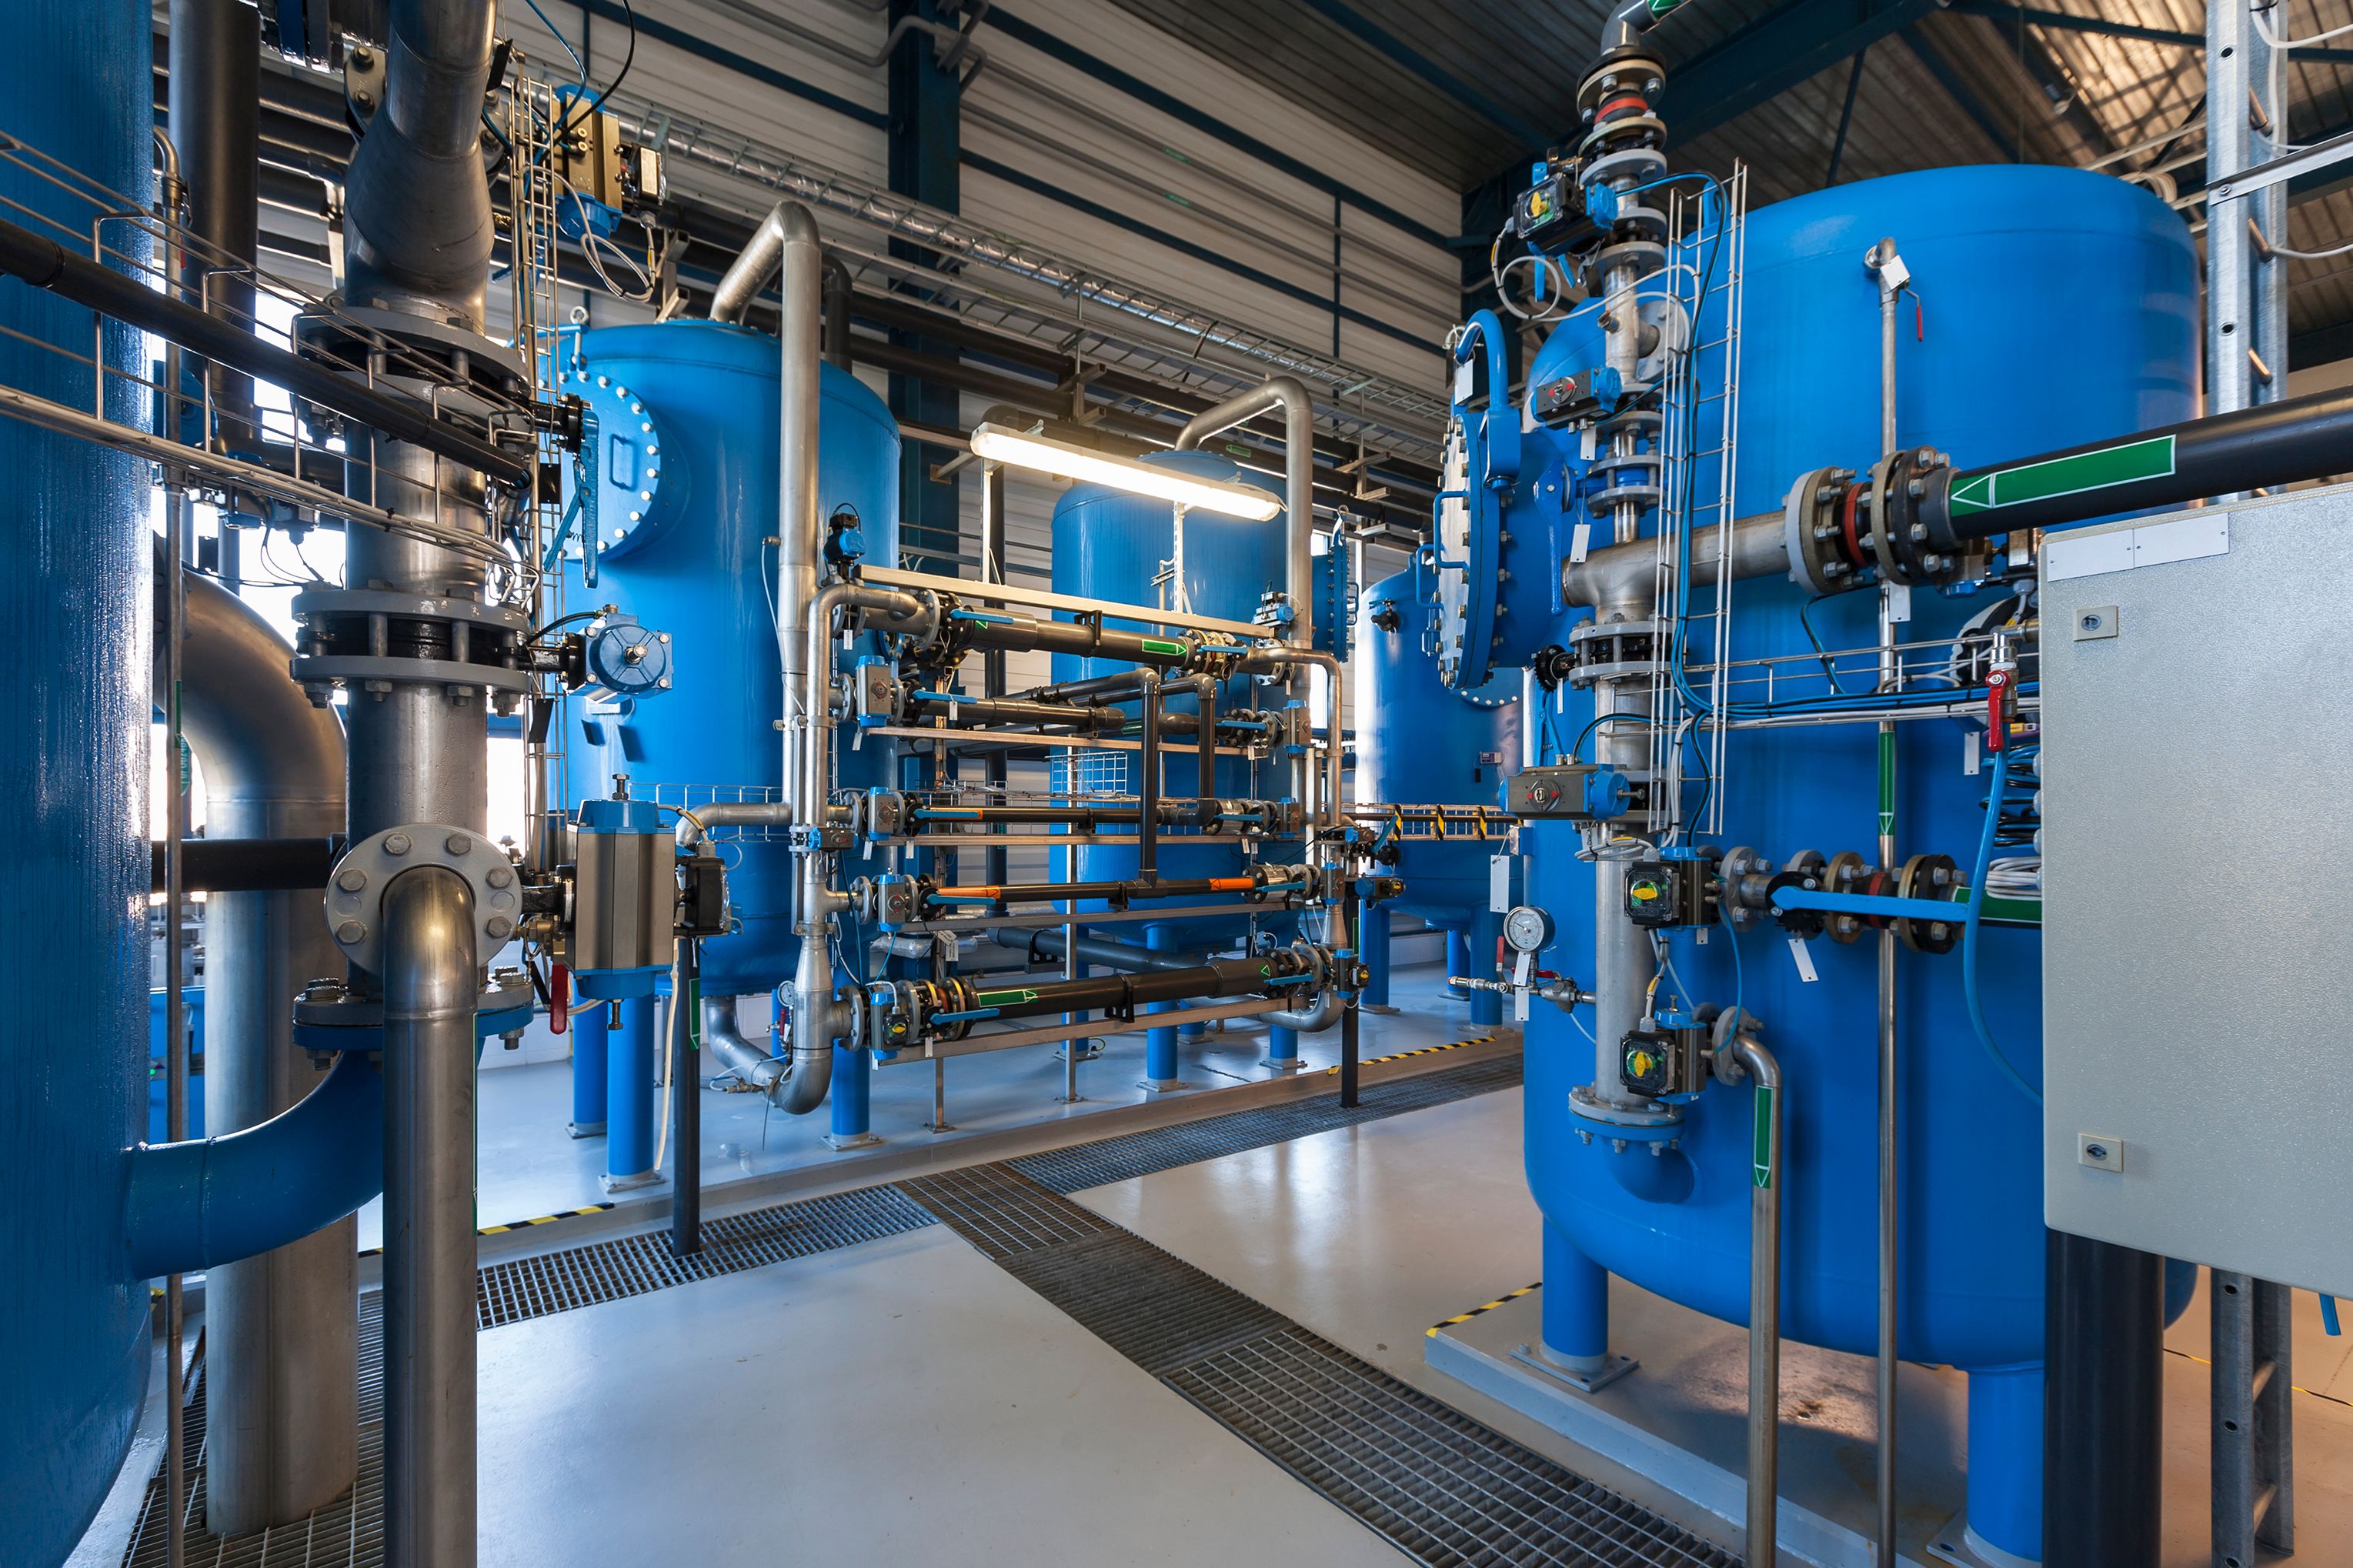
Understanding the Importance of Backflow Valves
Backflow valves play a crucial role in maintaining the safety and cleanliness of your water supply. They prevent contaminated water from flowing back into the clean water supply, ensuring that your household water remains safe for consumption. Regular maintenance of these valves is imperative to keep them functioning effectively.
Without proper maintenance, backflow valves can fail, potentially leading to contamination and costly repairs. By performing some basic DIY maintenance, you can extend the life of your backflow valve and ensure it continues to protect your water supply.
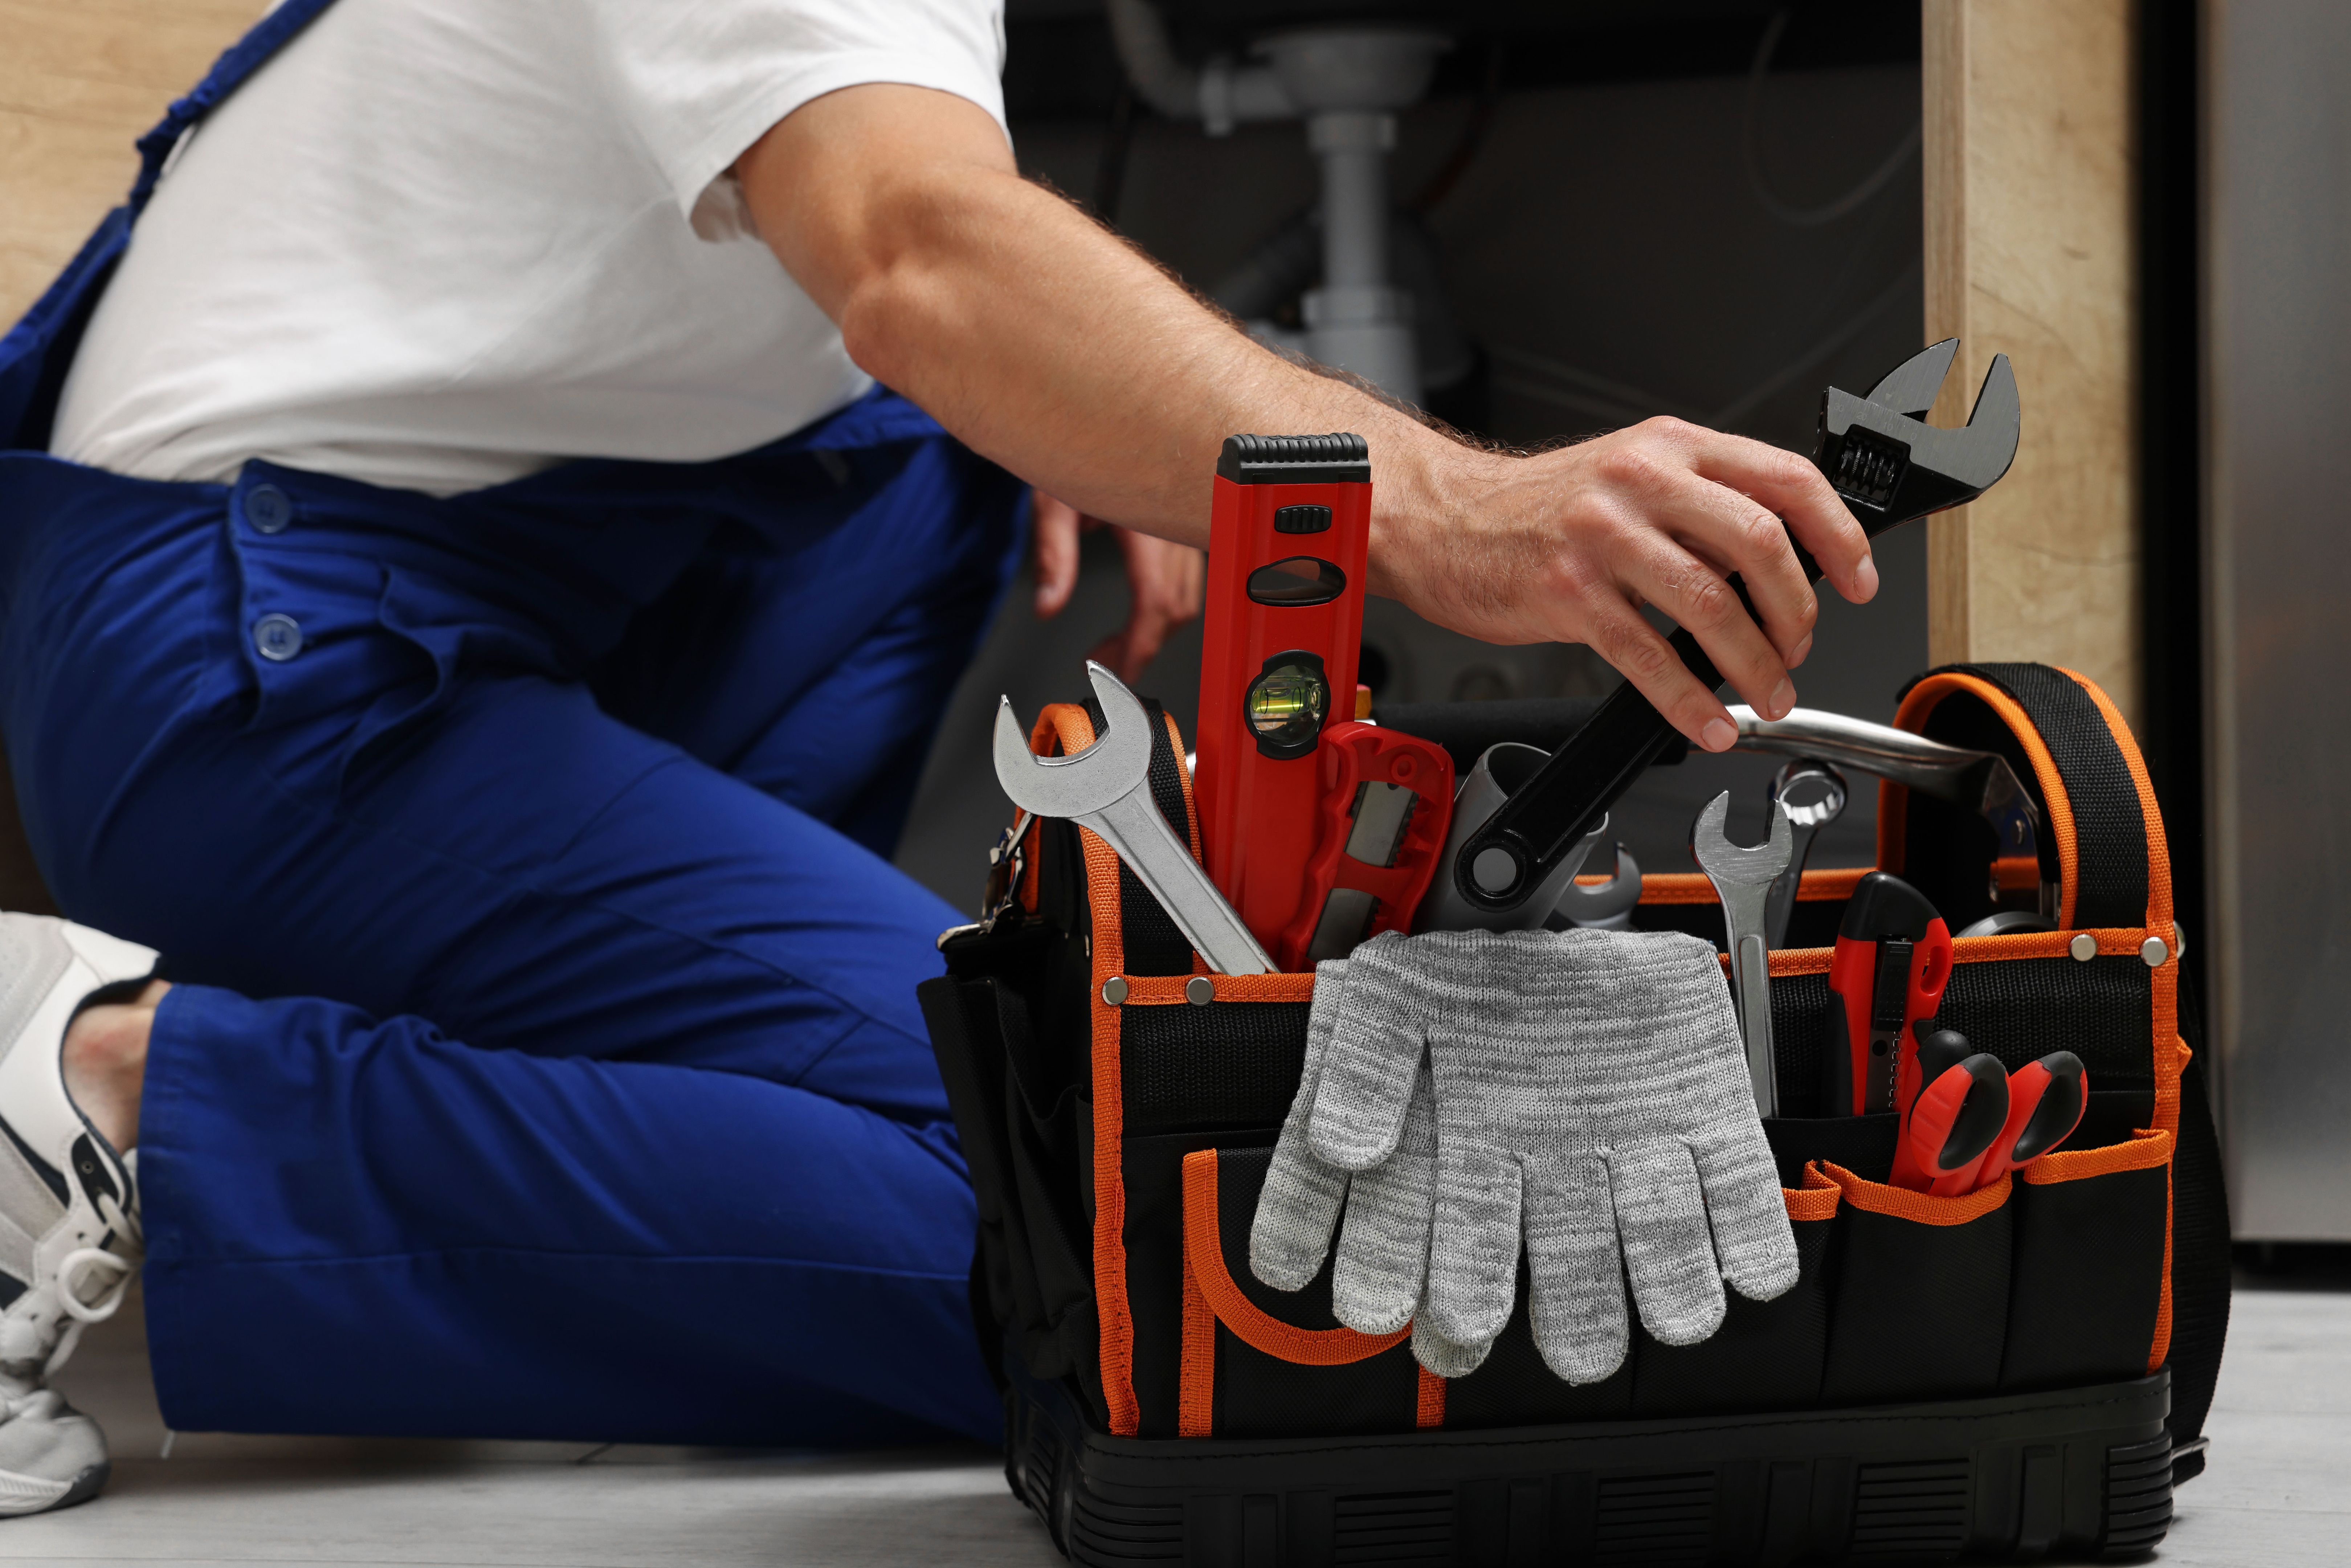
Essential Tools for Backflow Valve Maintenance
Before starting any maintenance work, it's important to gather the necessary tools. Having everything on hand will make the process smoother and more efficient. Here’s a list of essential tools you might need:
- Wrench set
- Screwdriver
- Pipe cleaning brush
- Replacement seals or gaskets
- Bucket or tray for catching water
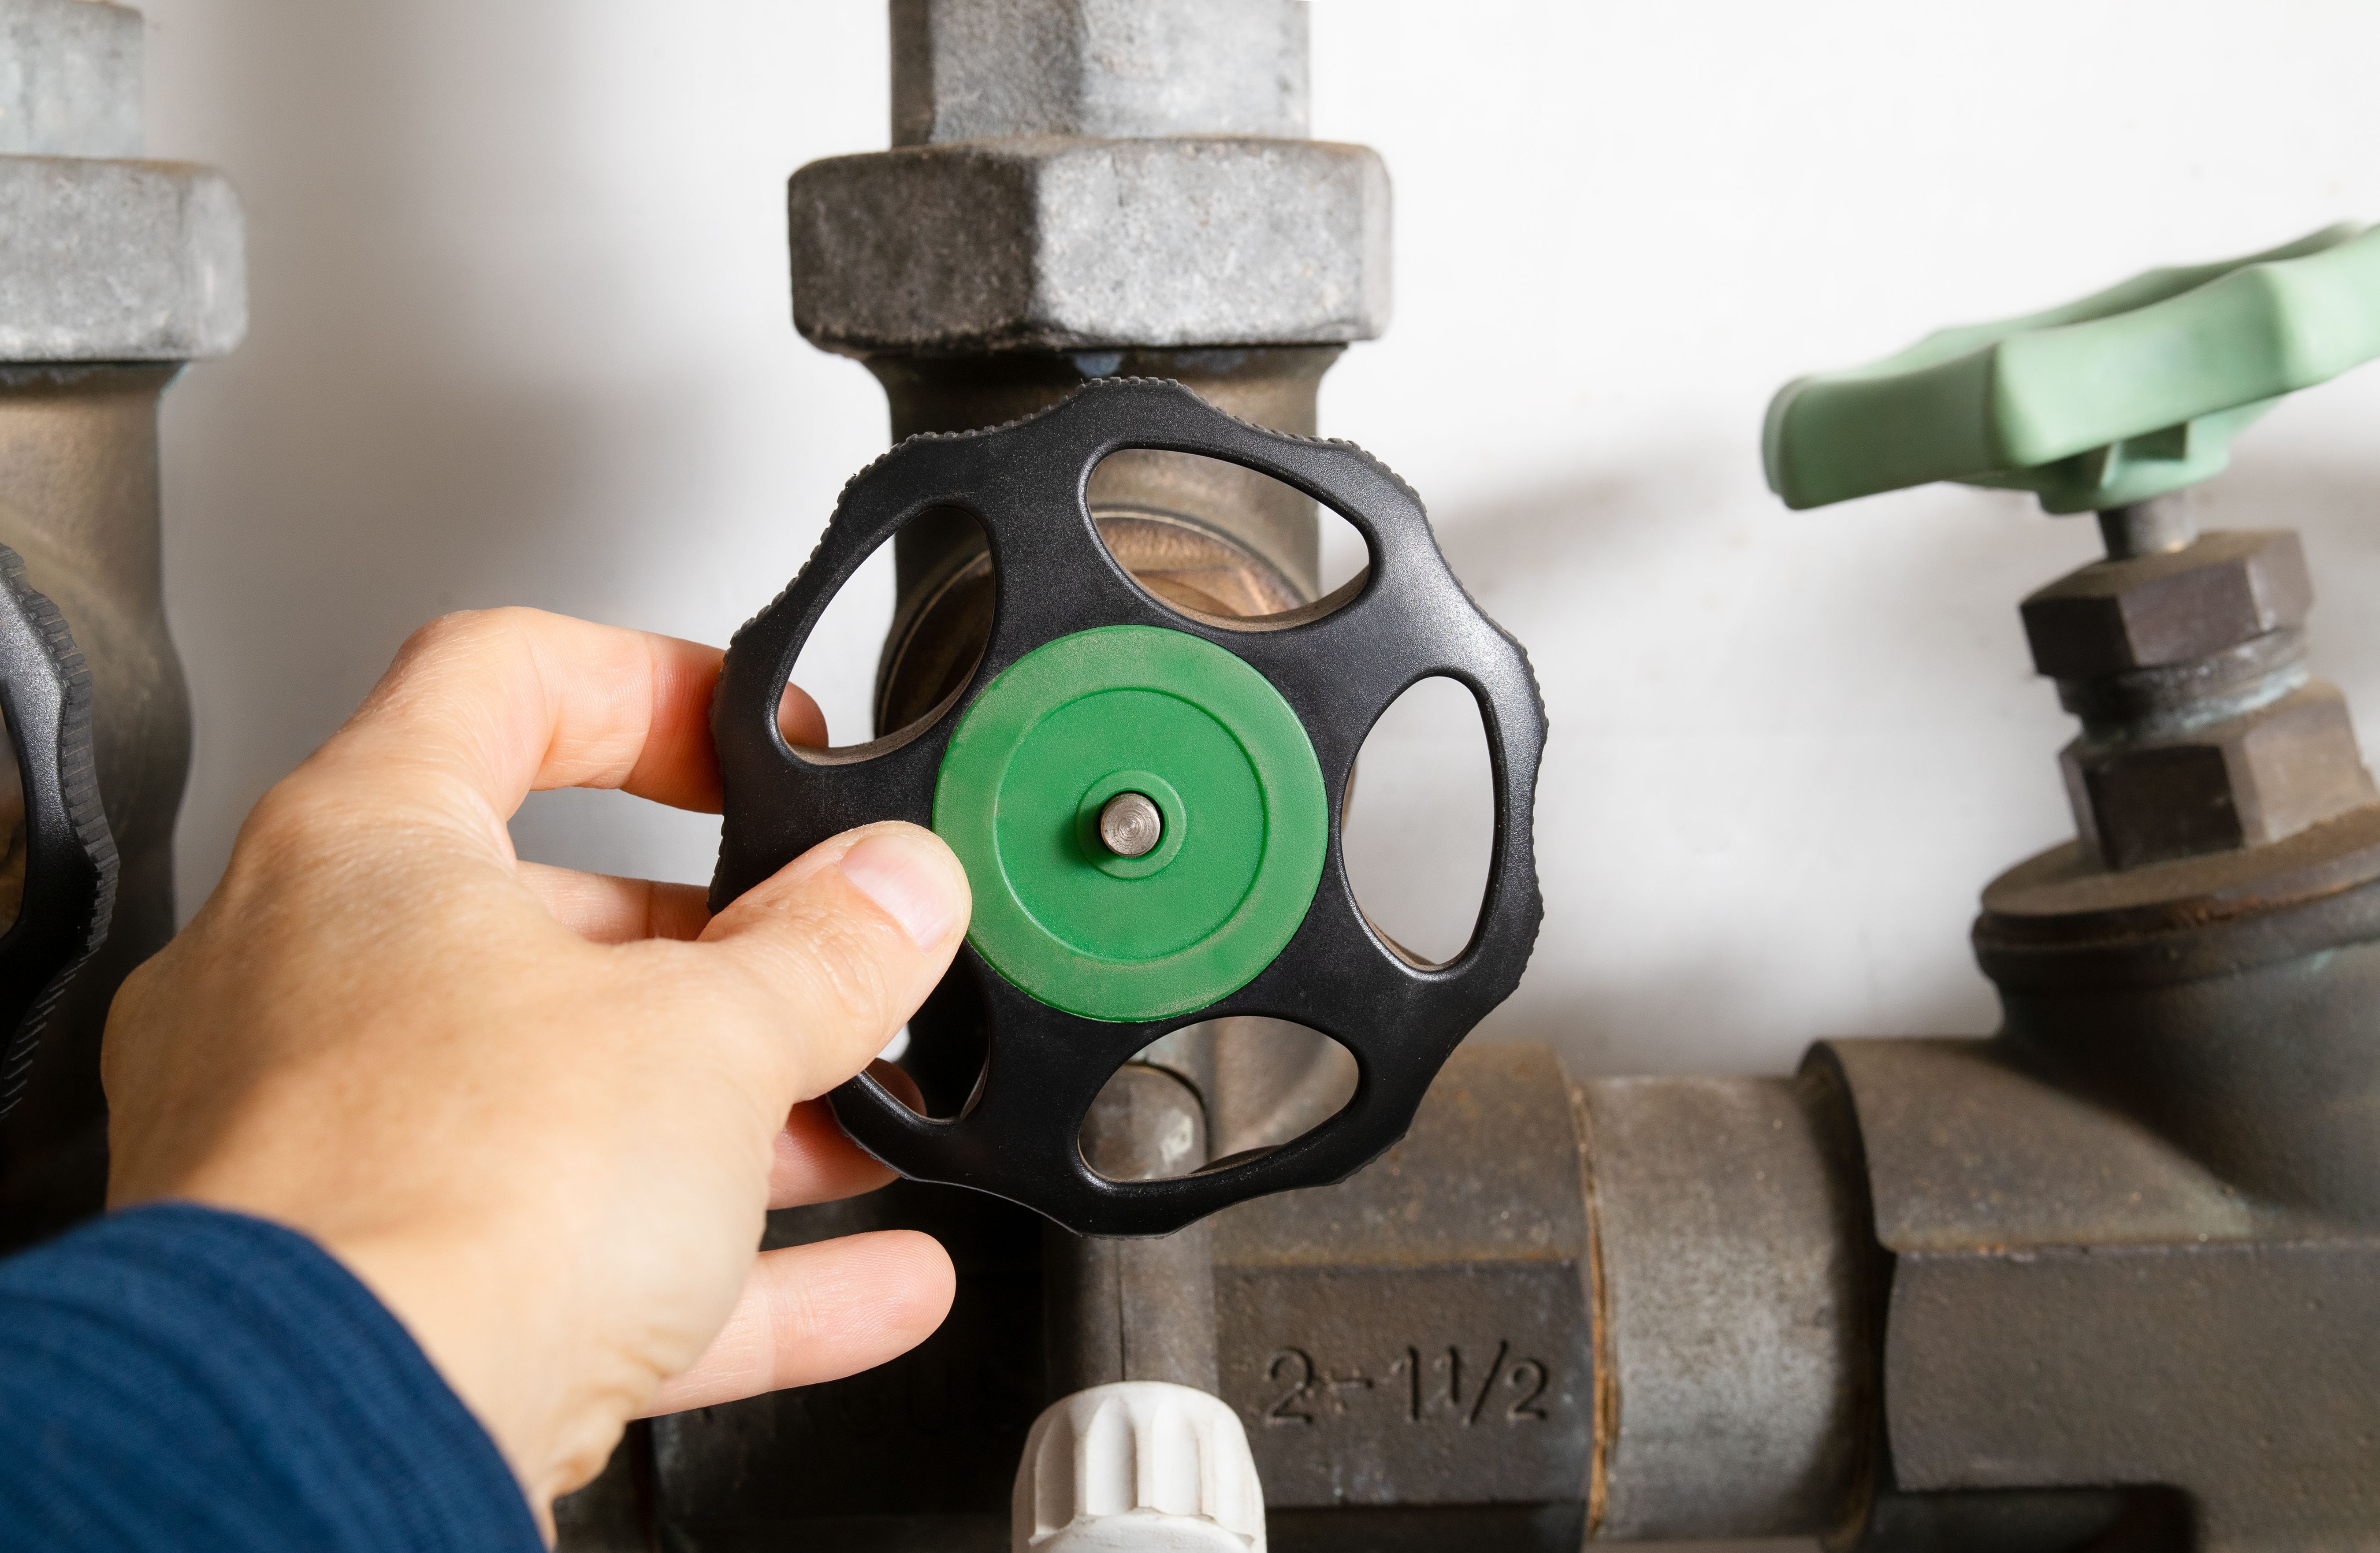
Inspecting Your Backflow Valve
The first step in maintaining your backflow valve is a thorough inspection. Check for any visible signs of wear or damage, such as cracks or leaks. Pay special attention to seals and gaskets, as these are common points of failure.
If you notice any signs of deterioration, it might be necessary to replace certain components to ensure the valve operates efficiently. Keeping an eye on these small details can prevent bigger issues down the line.

Cleaning and Lubricating the Valve
Regular cleaning of your backflow valve is essential to prevent debris build-up that can impede its function. Use a pipe cleaning brush to gently remove any dirt or sediment from the valve components. Be sure to clean all accessible parts thoroughly.
After cleaning, apply a suitable lubricant to moving parts of the valve. This will help prevent rust and ensure smooth operation. Always use a lubricant recommended by the valve manufacturer to avoid any damage.
Testing the Backflow Valve
Once your backflow valve is clean and lubricated, it's important to test it to ensure it's working correctly. Turn on the water supply and observe the valve as it operates. Look for any leaks or unusual sounds that could indicate a problem.
If you notice anything unusual during testing, it may be necessary to consult a professional for further evaluation. Regular testing is vital to ensure your valve provides optimal protection against backflow.
Replacing Parts When Necessary
Over time, certain parts of your backflow valve may need replacement due to wear and tear. Common parts that may require replacement include seals, gaskets, and springs. Having spare parts on hand can make this process quicker and easier.
If you're unsure about replacing parts yourself, consider reaching out to a professional plumber for assistance. Proper replacement is crucial for maintaining the integrity of your backflow prevention system.
Maintaining a Regular Schedule
Consistency is key when it comes to backflow valve maintenance. Establishing a regular maintenance schedule can help you stay on top of necessary inspections, cleanings, and replacements.
- Inspect your backflow valve at least twice a year.
- Clean the valve components every six months.
- Test the valve after each cleaning session.
- Replace parts as needed to ensure optimal performance.
By following these DIY tips and maintaining a proactive approach, you can ensure your backflow valve remains in good condition and continues to safeguard your water supply effectively.